Adding Photo Libraries
Adding Photos To A New Project:
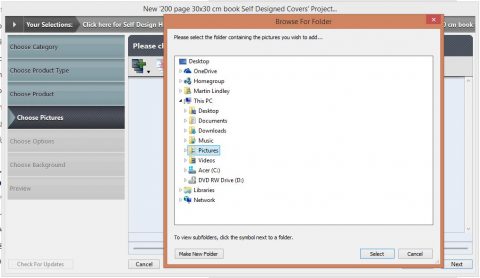
After selecting your project and clicking on 'Next', the Wizard will ask you to add a Photo Library.
First you must click on the blue folder with a + on it, this will open a browsing window, from here find your library, highlight it and click on Select.

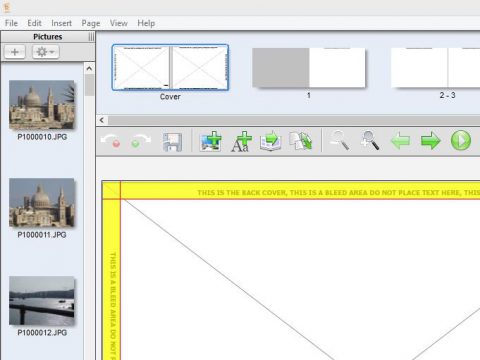
There are several more tools in this window that allow you too select individual photos from different libraries, delete photos from the Wizard, rotate left or right and the last tool is to set your sorting order.
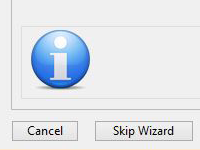
At any time during this process, or right in the beginning, you can switch off the Wizard by clicking on Skip in the bottom left corner. This will take you directly into the Designer/Editing Software.
Adding Photos to an Existing Project
You can add images to an existing project at any time by clocking on the "+" button above the photo library on the left of the design screen.
The wizard
Setting the initial page count (New Project Only)
Now that you have added your favourite photos, the Wizard will ask you how many pages you would like or how many pictures per page.
Click on the drop down menu to make this selection, click and hold the slider on the right and drag it up or down to add more pages, or to remove pages.
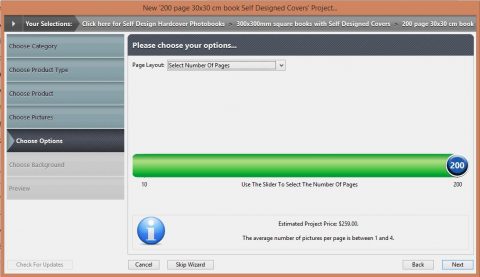
Once these selections have been made, click on Next to continue.
Setting the initial page background colour / style
Okay, we are on the final part of the setup. This is where you can select the background colour of each page. If you don’t want a background colour simply select white. Don’t worry, you can change the background colour of individual pages at any stage later on in the Editor.
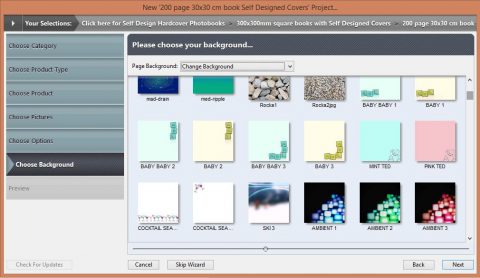
When you have made this selection, click Next.
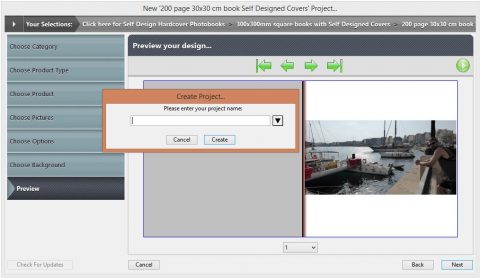
Naming your project
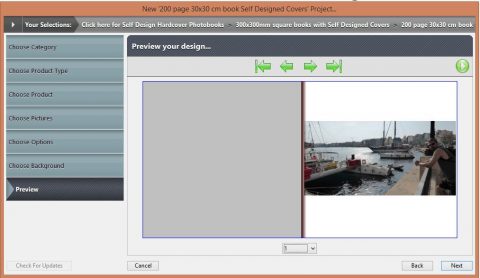
The program will ask you to give your project a name. Now we are off to the Editor where you can see your hard work on the screen.
After a few moments the project will open, ready for you to start placing photos and text!